Learn RASIDI step by step.
Follow simple walkthroughs to set up your business and use the platform. Every page in the app also has a built-in quick guide.
01Getting started: create your business profile
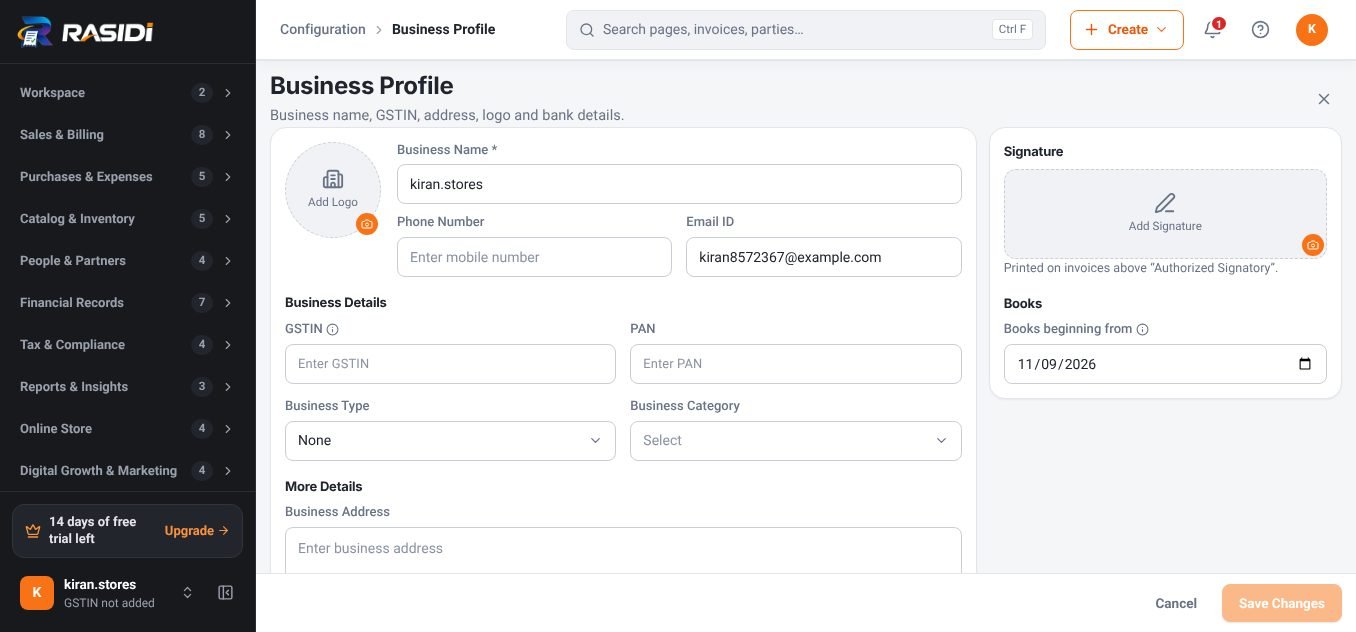
- Open Configuration → Business Profile.
- Enter your business name (required), phone and email.
- Add GSTIN and PAN so they print on invoices.
- Pick business type and category, then add your address.
- Upload your logo and signature, set Books beginning from, and click Save Changes.
02Add products and services
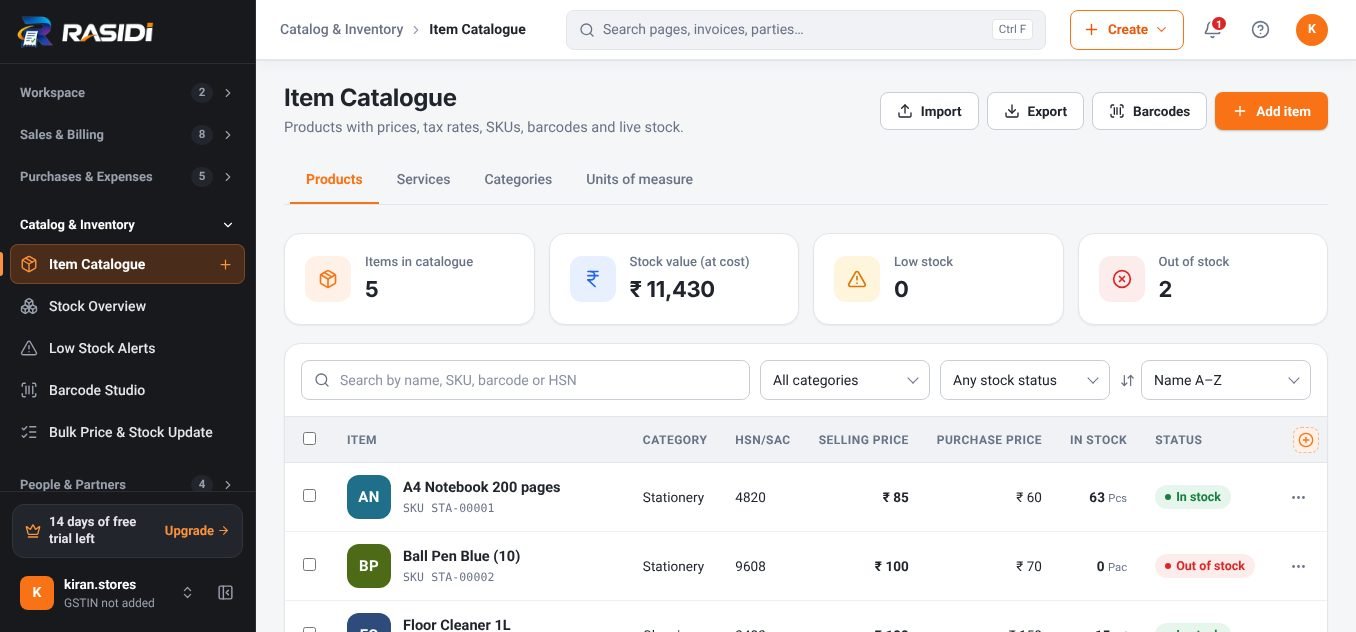
- Go to Catalog & Inventory → Item Catalogue.
- Click Add item.
- Type the item name and HSN code: the GST rate fills in by itself.
- Set selling price, purchase price, unit and opening stock.
- For many items, use Import Centre to upload Excel/CSV.
03Add customers and suppliers
- Open People & Partners → Customers & Suppliers.
- Add the name, mobile number and GSTIN (for businesses).
- Enter billing and shipping address.
- Add an opening balance if they already owe you or you owe them.
- Or simply type a new name while billing, RASIDI adds it for you.
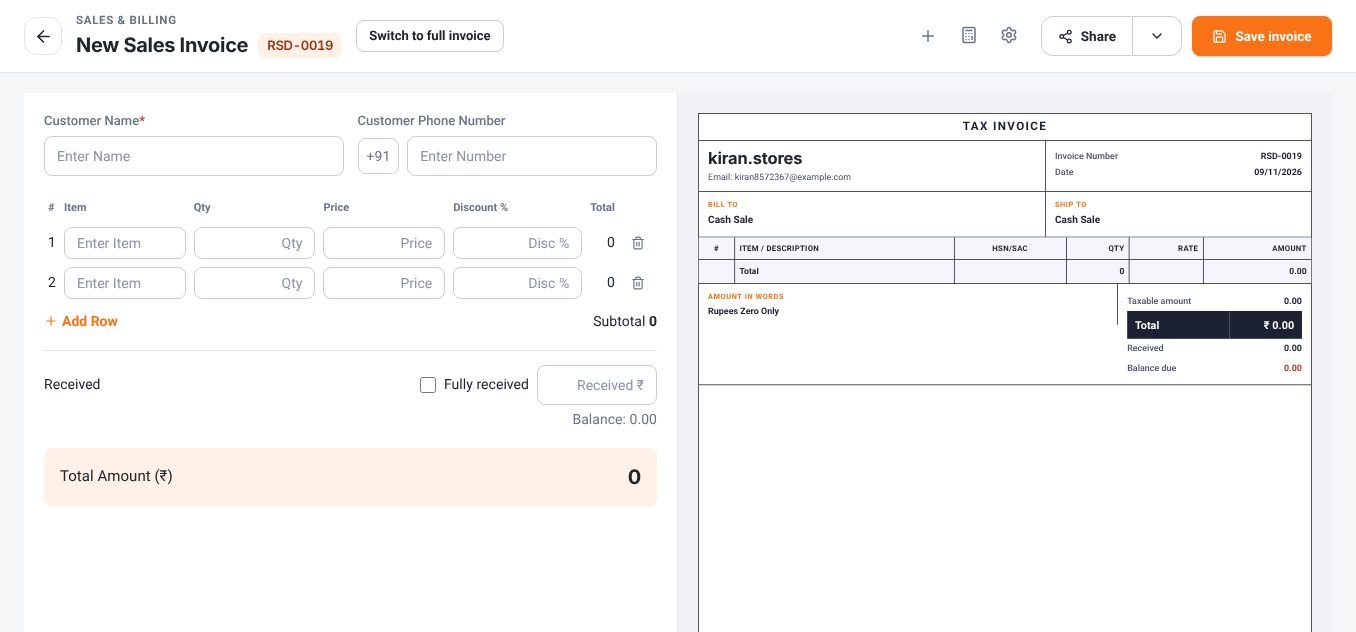
04Create your first invoice
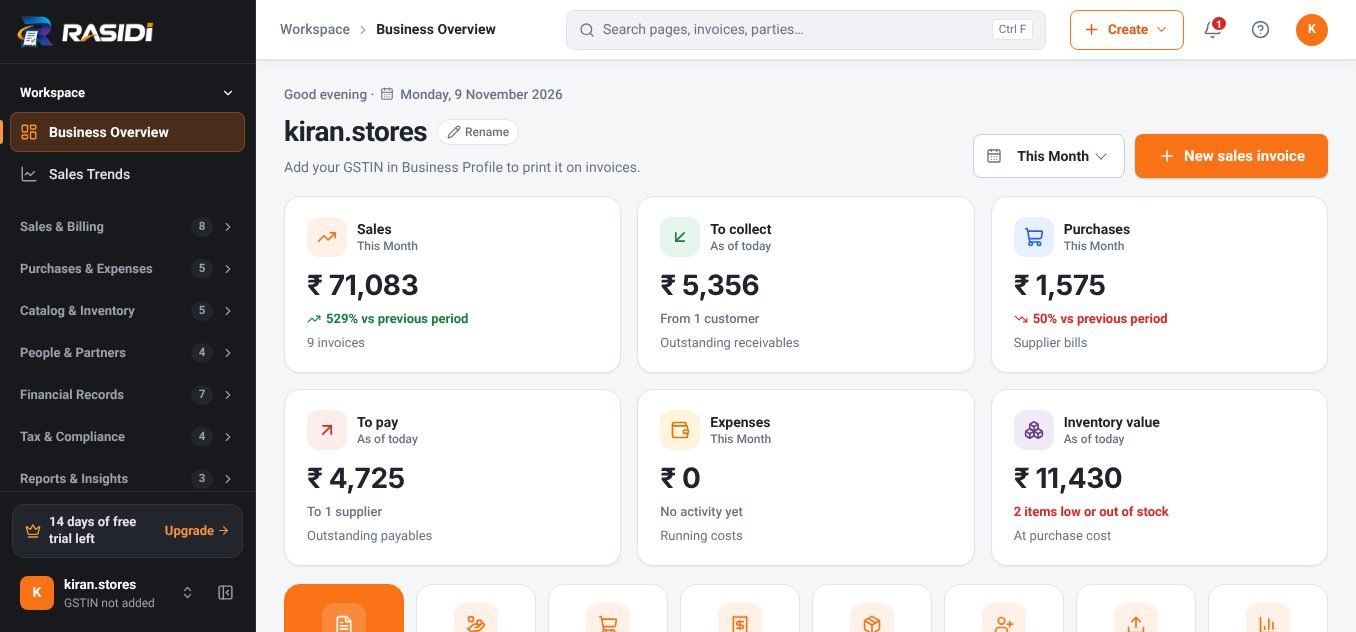
- Click New sales invoice on the Business Overview.
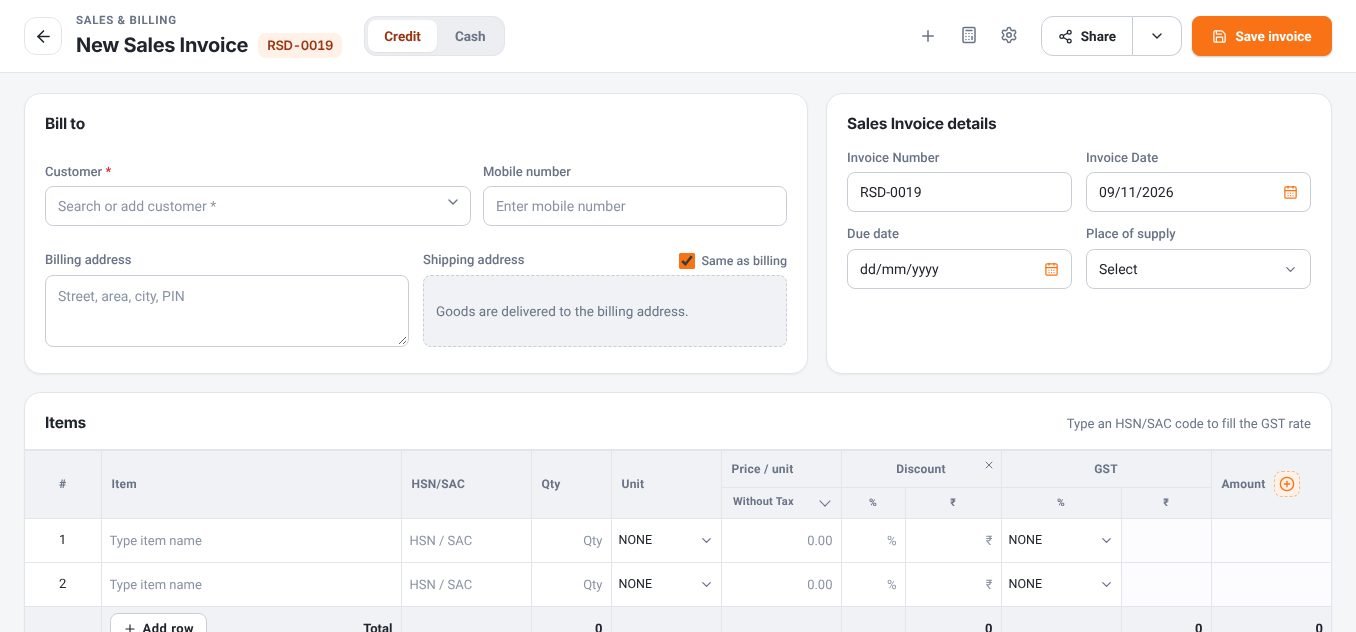
- Choose Credit or Cash and search or add the customer.
- Select the place of supply so CGST + SGST or IGST applies correctly.
- Add items, quantity, discount and GST.
- Click Save invoice, then Share on WhatsApp or print.
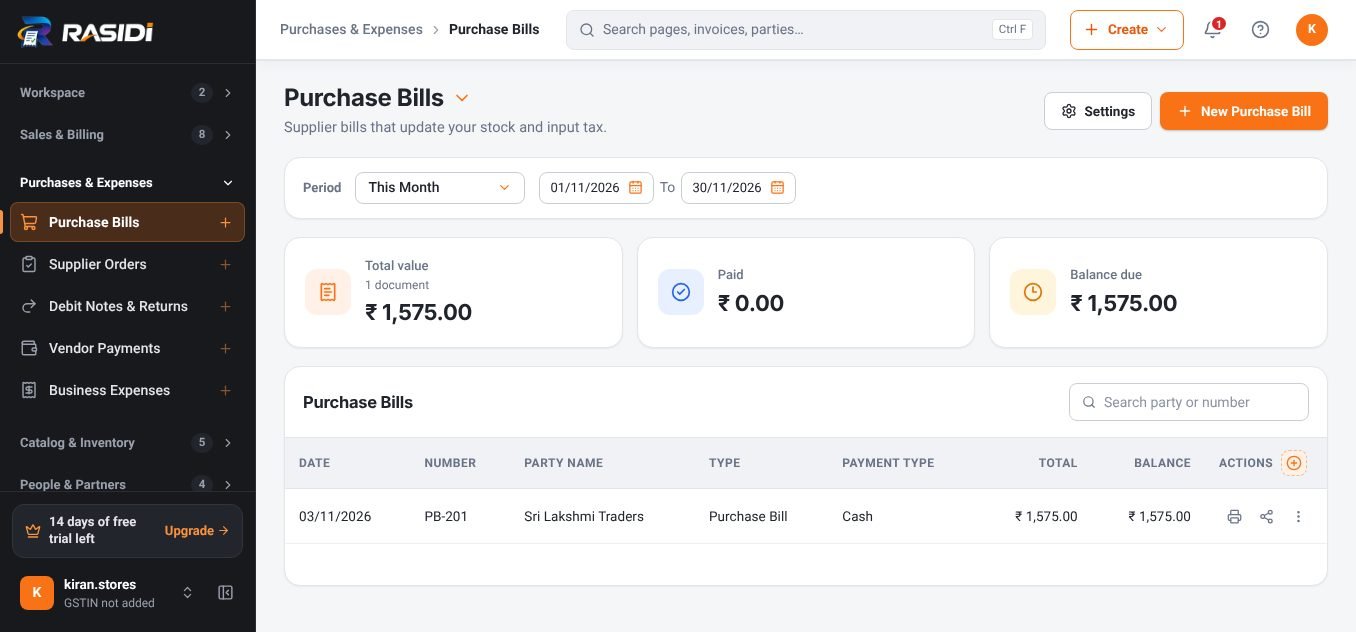
05Record a purchase
- Go to Purchases & Expenses → Purchase Bills.
- Click New Purchase Bill and pick the supplier.
- Add the items and rates from the supplier's bill.
- Enter the amount paid, if any.
- Save, your stock and input tax update automatically.
06Record a payment
- Open the invoice or go to Payment Receipts.
- Choose the customer and enter the amount received.
- Pick cash, bank or UPI.
- Save, the customer's balance updates instantly.
- For quick bills, tick Fully Received while billing.
07Review business reports
- Open Reports & Insights.
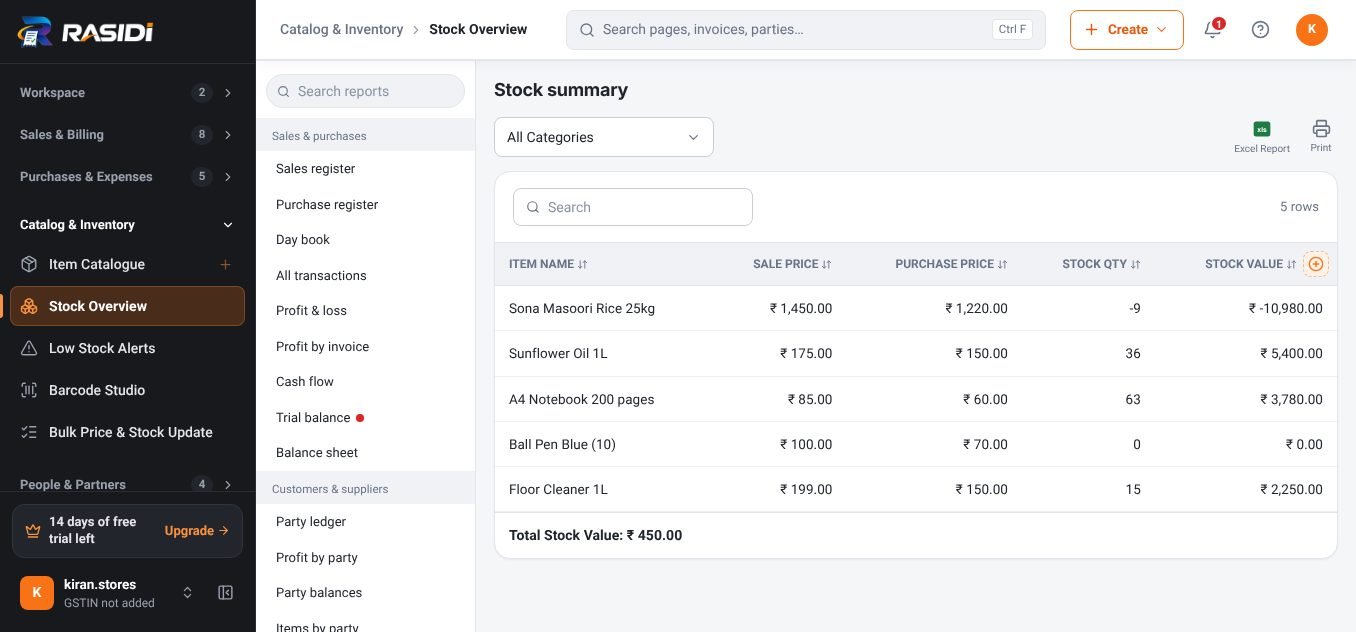
- Pick a report: sales register, profit & loss, party balances, stock summary and more.
- Filter by period or category.
- Export to Excel or Print.
- Use Accountant Pack to share everything with your CA.
08Configure invoice preferences
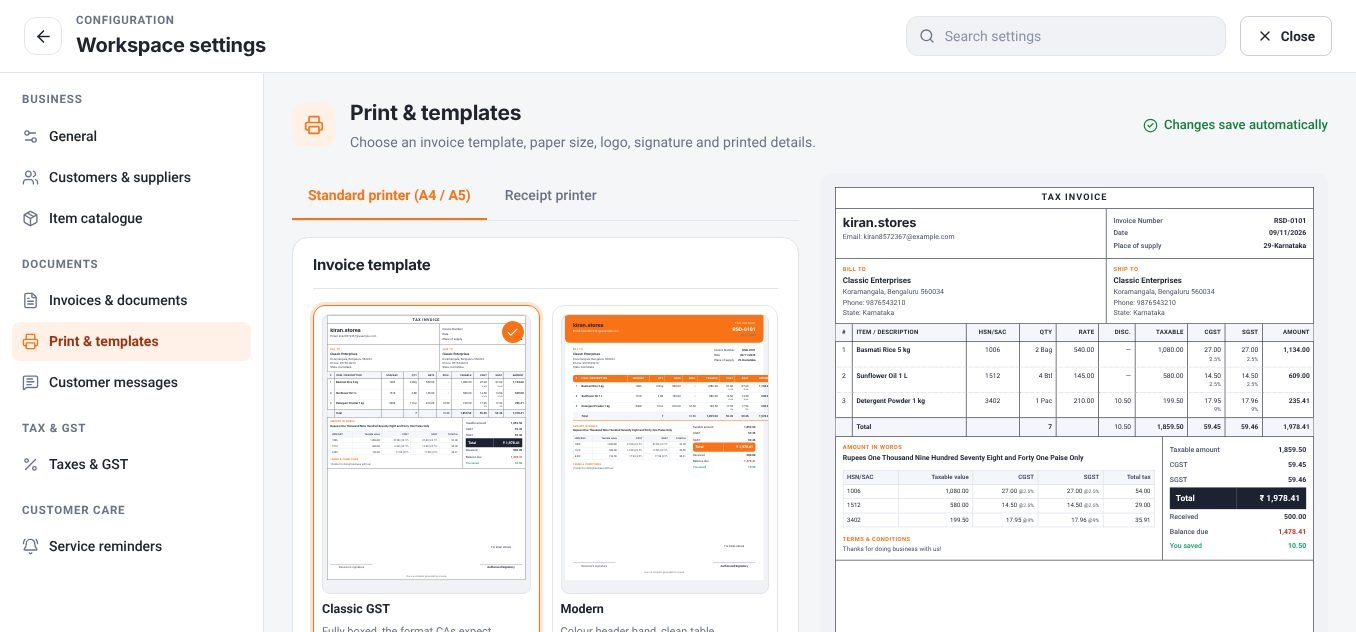
- Go to Workspace settings → Print & templates.
- Choose Standard printer (A4 / A5) or Receipt printer.
- Pick a template, Classic GST or Modern.
- Turn printed details on or off and watch the live preview.
- Changes save automatically.
Videos
Prefer to watch?
Video tutorials live inside the app under Help & Support → Video Tutorials, alongside page-by-page quick guides.
Start with the setup guide